Over the years, I’ve helped dozens of homeowners and contractors remove vinyl plank flooring without leaving a mark on the subfloor. It’s surprisingly common to see damage caused by rushing the process; either tearing planks, chipping edges, or scraping up adhesive too aggressively. But with the right tools and a measured approach, you can take up vinyl planks cleanly, whether you’re aiming to reuse them or prep for a brand-new install. The key is careful preparation, gentle removal techniques, and knowing when to apply extra tools like heat or solvents.
“When removing vinyl flooring, patience is your most valuable tool. Hurrying usually leads to more damage than progress.” said John Weaver, Certified Flooring Installer (CFI)
Preparing for Removal: Setting the Stage for Success
Before anything else, the space needs to be completely cleared. Move all furniture and appliances to open up the floor and create a safe, unobstructed work area. This isn’t just about convenience; it minimizes the risk of tripping or damaging the flooring as you begin. Once clear, remove any baseboards or trim carefully using a pry bar. If you plan on reusing them, label and store them neatly. Doing this slowly avoids splintering the wood or cracking the wall paint.
Tools and Materials Needed: Equipping Yourself for the Task
The core tools include a utility knife for scoring the vinyl, a floor scraper to separate planks from the adhesive, and a pry bar for baseboards or stubborn sections. I also always wear knee pads and gloves to stay comfortable through long work sessions. For extra efficiency, consider using a heat gun to soften adhesive, especially if you’re dealing with old or industrial glue. In larger rooms, a power scraper speeds things up considerably. The type of vinyl and glue you’re working with will influence how much force or heat you’ll need; some older planks are surprisingly brittle and need gentler handling.
“A heat gun can make all the difference when dealing with stubborn glue; it loosens the bond without damaging the flooring.” Karen Dillman, Flooring Restoration Specialist
Steps for Removing Vinyl Flooring: Initial Removal
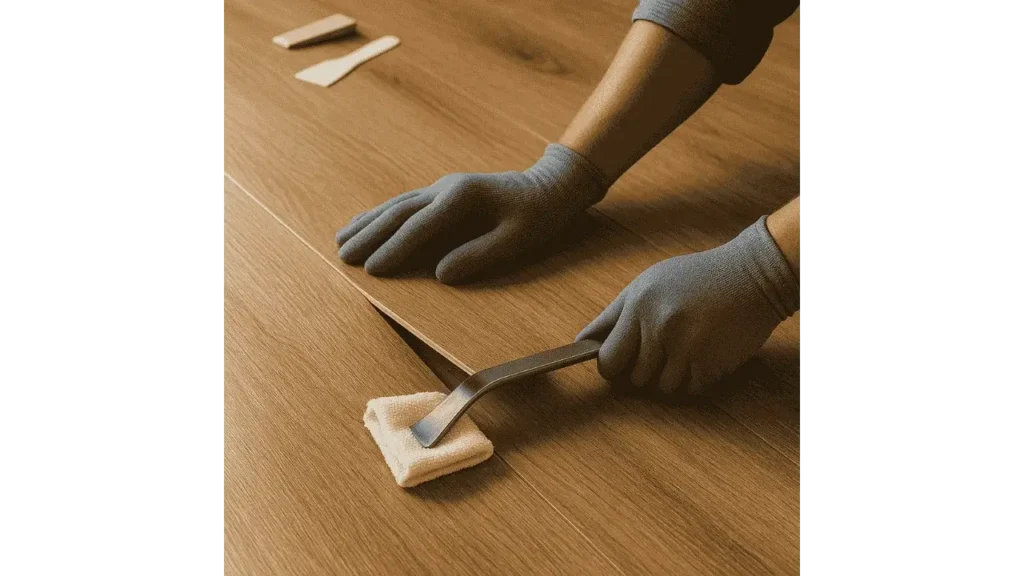
Begin by carefully lifting the edge of a plank with your scraper or pry bar. Don’t rush it; working slowly helps release the adhesive cleanly without bending or breaking the plank. Once one section is up, you’ll often find the others lift more easily. For large sheets or glued-down installations, scoring the vinyl into 12- to 18-inch strips with a utility knife makes removal more manageable. This also gives you more control, reducing the strain on both your hands and the flooring itself.
Learn More: How to Transition Vinyl Plank Flooring Between Rooms?
Final Takeaways
Removing vinyl plank flooring without causing damage takes planning, the right tools, and steady patience. When done carefully, you protect both your subfloor and the planks themselves; making reuse or proper disposal easier. Clearing the space, loosening adhesives properly, and lifting each section gently are what separate a clean job from a messy one. Whether you’re upgrading your floors or just making room for something new, taking the extra care during removal is always worth it.