
As a flooring installation specialist, I can tell you that underlayment isn’t just a supporting layer; it’s the key to ensuring your vinyl flooring stays smooth, silent, and damage-free for years. Proper underlayment reduces impact noise, prevents moisture buildup, and creates a level base that enhances the look and feel of your planks. If installed incorrectly or skipped altogether, even high-quality vinyl flooring can warp, shift, or feel unstable over time. This guide explains exactly how to install underlayment for vinyl flooring with precision, using the right tools and materials for long-term success.
Tools and Preparation
What You Need?
Before installing underlayment, it’s critical to gather the right equipment. You’ll need a measuring tape, utility knife, and a straight edge to ensure accurate cuts. Seam tape is required to join sections securely, and depending on the underlayment type, you’ll use either a staple gun or adhesive to hold the material in place.
Preparing the Subfloor
Every job starts with preparation, and that means making sure the subfloor is clean, dry, and level. Filling gaps or cracks with leveling compound ensures the underlayment sits flat, which helps your vinyl planks perform properly without creaks or flexing. Renovation expert Tyler Shaw advises,
“Skipping underlayment may save time upfront, but it often leads to flooring failures that are far more costly to fix later.”
Installing Underlayment for Vinyl Flooring
Step 1: Clean the Subfloor
Start by thoroughly cleaning the subfloor to remove dust, debris, or moisture. Even small particles can cause lumps or instability, so this step can’t be rushed.
Learn More: What is the Best Vinyl Flooring Thickness?
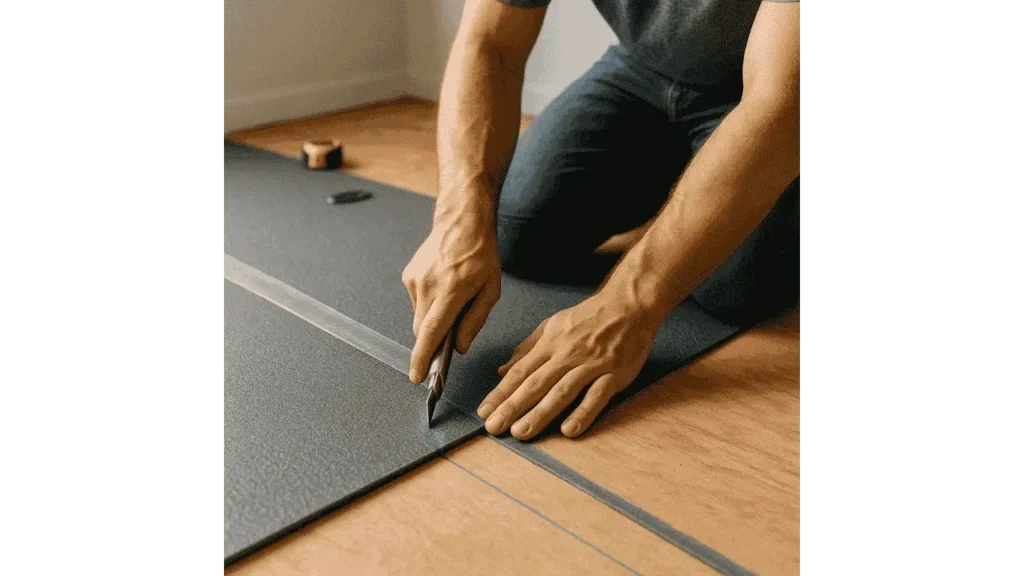
Step 2: Measure and Cut
Measure the full area and cut the underlayment to match, leaving a slight gap around the edges to allow for expansion. This prevents buckling or curling over time.
Step 3: Lay Out the Underlayment
Lay the underlayment in full rows, keeping each piece flat and flush with the next. If you’re working with smaller rolls or sheets, overlap the seams slightly and apply seam tape to secure them.
Step 4: Secure the Underlayment
Depending on the material, fasten the underlayment using a staple gun or approved adhesive. Apply only enough pressure to ensure contact without creating wrinkles or waves.
Step 5: Inspect the Surface
Once everything is laid out and fastened, walk the surface slowly and check for uneven areas or gaps. Make any final adjustments before you begin installing the vinyl planks.
Read More: Vinyl Plank Buying Guide!
Choosing the Right Underlay for Vinyl
Foam Underlayment
Foam underlayment is lightweight, budget-friendly, and easy to install. It provides soft cushioning and helps reduce footfall noise. It’s best suited for low-traffic residential areas where moisture isn’t a concern.
Cork Underlayment
Cork underlayment offers excellent sound insulation and is naturally resistant to mold and mildew. It’s ideal for apartments and upper floors where noise control matters. Flooring consultant Renee Martin notes,
“Underlayment is what separates a flawless floor from a failed one.”
Cork also adds a layer of thermal insulation that helps regulate temperature.
Felt Underlayment
Felt underlayment is dense, durable, and highly effective at absorbing sound and resisting moisture. It works well in high-traffic areas and commercial spaces. Felt also enhances stability underfoot and holds up better under heavy furniture.
Final Takeaways
Installing underlayment for vinyl flooring is about more than just padding; it’s about performance. Each phase, from surface prep to secure fastening, plays a part in how your floor will feel and last. Using the right material, such as foam, cork, or felt, can tailor the experience to your home’s needs. Always match the underlayment to the space, and don’t cut corners on prep. A well-installed underlayment will protect your flooring investment and elevate the quality of every step you take.