
Installing Stainmaster vinyl plank flooring can completely transform your home’s appearance while offering excellent durability and low-maintenance performance. A well-done installation ensures the flooring stays beautiful and functional through everyday wear. Whether you’re tackling a weekend project or upgrading a high-traffic area, getting the process right can save you time and avoid costly mistakes.
What Tools and Materials Do You Need?
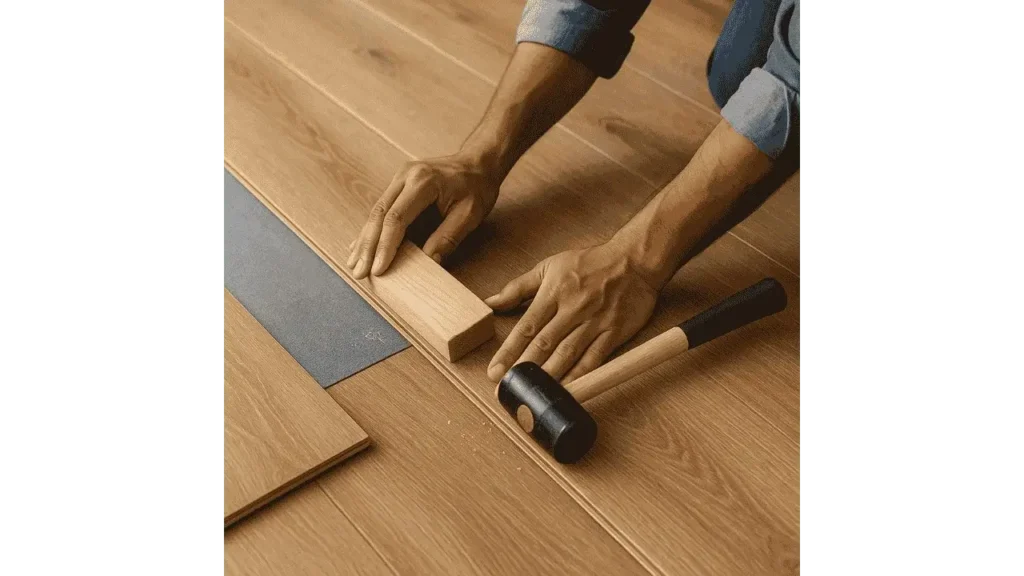
To begin, make sure you have a tape measure, utility knife, rubber mallet, and spacers. These tools help you make precise cuts and secure each plank properly. In terms of materials, you’ll also need underlayment, transition strips, and in some cases, adhesive, depending on your subfloor.
How Should You Prepare for Installation?
Before installation, allow your vinyl planks to acclimate to the room for at least 48 hours. This step helps prevent the planks from shifting, expanding, or contracting later. Make sure your subfloor is clean, dry, and level, free from any leftover adhesive or damage. Uneven spots should be smoothed using a floor-leveling compound to give your vinyl a firm, flat base.
According to flooring expert Dana Langford, “A properly prepped subfloor is like a good foundation for a house; it determines how long your vinyl flooring holds up without issues.”
Her point reinforces that skipping proper prep can lead to loose planks, gaps, and early wear.
What Are the Proper Steps for Installation?
“Installing in natural daylight helps you spot uneven seams and subtle alignment issues before they become permanent.” says Interior renovation expert Melanie Cruz advises,
Begin by deciding on the layout direction. Most installers run the planks parallel to the room’s longest wall or towards the main light source to create a more open look. With that decided, start laying your first row, placing spacers along the walls to maintain the proper expansion gap. Align and click the planks into place carefully.
When you reach the edges or need to fit around corners, measure accurately and make your cuts using a utility knife or jigsaw, depending on the shape. It’s best to double-check measurements before cutting to avoid waste.
As you move forward row by row, stagger the planks in a brick-like pattern to give the floor visual depth and stability. Use a rubber mallet and tapping block to close any tiny gaps.
After placing the final row, remove the spacers and install baseboards or transition strips to polish the edges. Clean the floor to remove any debris or dust, revealing a crisp, professional finish.
Learn More: What Color of Vinyl Plank Flooring For Honey Oak Cabinets?
How Do You Maintain Your New Floor?
To keep your Stainmaster vinyl floor in top shape, sweep or vacuum it often to remove loose dirt. Use a vinyl-safe cleaner for occasional damp mopping, steering clear of harsh chemicals that could dull the surface. Furniture pads help protect from dents, and adding doormats near entrances reduces grit and moisture that may scratch the floor.
Final Thoughts
Installing Stainmaster vinyl plank flooring is a smart and manageable upgrade that adds style and resilience to your home. With the right tools, proper preparation, and careful execution, your floor will not only look fantastic but hold up beautifully over time. And by sticking to simple care habits, you’ll enjoy the results well into the future.