
Installing a shower base on a wooden floor is a crucial step in building a durable and leak-proof shower. A properly installed shower base ensures that water drains correctly and prevents moisture damage to the underlying wooden structure. Whether you’re renovating your bathroom or building a new one, following the right steps can make the installation process smooth and successful. This guide will walk you through each stage of installing a shower base on a wooden floor, ensuring a secure and long-lasting fit.
Tools and Materials Needed:
For a successful installation, start with a high-quality shower base made from acrylic, fiberglass, or stone resin to suit your design and durability needs. A strong bond between the base and subfloor is crucial, so be sure to use construction adhesive or a mortar mix. Use a level and measuring tape to ensure precise alignment of the shower base. Secure the base with a drill and screws, and apply silicone sealant along the seams to guard against water leaks. A pipe wrench will help you tighten the drain assembly properly, and a drain assembly kit will ensure smooth water flow. If the wooden subfloor appears unstable, reinforce it with a sheet of sturdy plywood to create a solid foundation.
Step-by-Step Guide to Installing a Shower Base:
Step 1: Prepare the Wooden Subfloor
Start by ensuring the wooden subfloor is clean, dry, and level. Inspect the area for any signs of rot or damage, and repair or replace any weak sections. If the floor isn’t level, use a leveling compound or install additional plywood to create a stable surface.
Step 2: Position and Mark the Drain Location
Place the shower base in the intended spot and mark the drain hole location on the wooden floor. Remove the base and cut the marked section using a jigsaw or hole saw to accommodate the drain pipe.
Read More: Shining Wood Floors Without Refinishing!
Step 3: Install the Drain Assembly
Attach the drain assembly to the shower base according to the manufacturer’s instructions. Apply plumber’s putty or silicone sealant around the drain flange to create a watertight seal. Tighten the assembly securely using a pipe wrench.
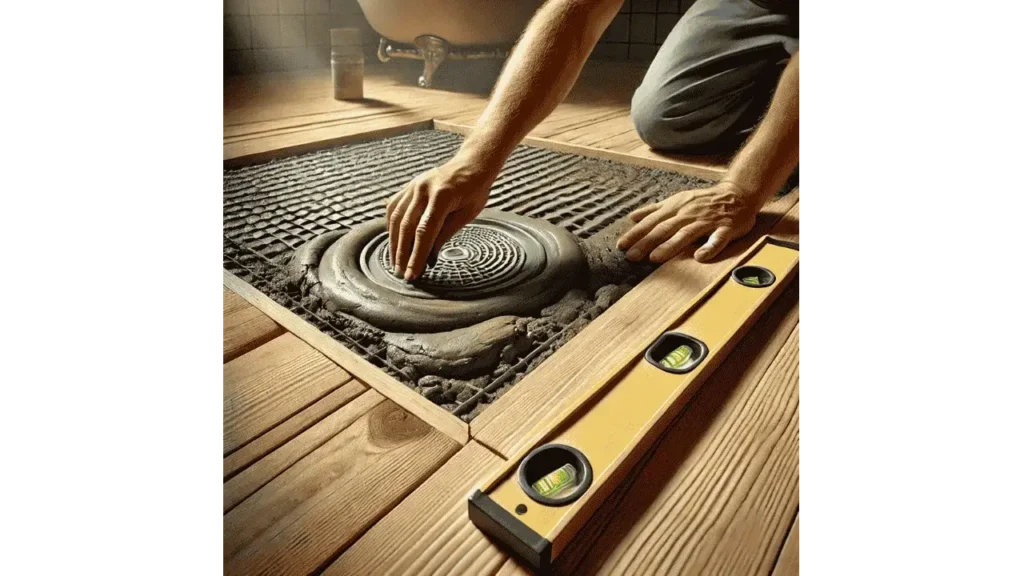
Step 4: Apply Mortar or Adhesive
To ensure a solid foundation, apply a bed of mortar or construction adhesive to the subfloor where the shower base will sit. This layer helps prevent movement and supports the base evenly.
Step 5: Set the Shower Base in Place
Carefully lower the shower base onto the adhesive or mortar bed, aligning the drain with the floor opening. Use a level to ensure the base sits evenly on all sides. Apply gentle pressure to set the base firmly in place.
Step 6: Secure the Shower Base
Drill pilot holes through the flange of the shower base into the wooden studs. Secure the base with screws, ensuring it remains level. Avoid over tightening the screws, as this could crack the base.
Step 7: Seal the Edges
Apply a bead of silicone sealant around the edges where the shower base meets the wall and floor. This step prevents water from seeping underneath and protects the wooden floor from moisture damage.
Step 8: Let the Installation Cure
Allow the adhesive or mortar and sealant to cure according to the product instructions. Avoid using the shower until everything is fully set to ensure a stable and waterproof installation.
Learn More: Using a Bona Wood Floor Cleaner
Final Touches:
Once the shower base is secured and sealed, you can proceed with installing wall panels or tiles and connecting the plumbing fixtures. Regularly inspect the seals and edges for any signs of wear to maintain a watertight fit.
Conclusion:
Installing a shower base on a wooden floor requires precision and care, but by following these steps, you can achieve a secure and professional result. Proper preparation, alignment, and sealing are key to preventing water damage and ensuring the longevity of your shower. With the right tools and careful execution, your new shower will be both functional and durable for years to come.