I’ve worked with vinyl plank flooring for years, and one thing is clear: a good stagger makes all the difference. It’s not just about making the floor look nice; it’s about strength, durability, and preventing future headaches. If you get the staggering right from the start, you’ll have a floor that holds up beautifully over time. Let me show you how to do it the right way.
Why Staggering Vinyl Planks Matters?
It’s About More Than Looks
When planks are staggered properly, they mimic the random, natural flow of hardwood. But there’s more: staggered seams spread out the stress points across the floor. This keeps the joints tight, reduces movement, and makes the whole installation stronger.
Weak Spots Can Cost You
Without staggering, seams line up and create weak points. This can lead to shifting, warping, or even splitting over time. The effort you put in now saves you from costly repairs later.
“A staggered layout distributes weight better, which helps the floor last longer underlayment for everyday use,” says Brian Alston, a flooring installer with 15 years of experience in residential and commercial settings.
Tools and Materials You’ll Need
For this job, you’ll need a measuring tape for accurate cuts and spacing. A utility knife will help you cut the planks neatly. Spacers are essential to create consistent gaps for natural expansion. A tapping block and rubber mallet will help secure each plank into place. A straightedge or chalk line helps maintain alignment as you work. Finally, knee pads and gloves make the job safer and more comfortable.
Preparation: The Key to a Flawless Start
Before you start laying planks, clean and dry the subfloor completely. Make sure it’s level and free of debris. Let the vinyl planks sit in the room for at least 24 hours to adjust to temperature and humidity. Planning the layout ahead of time helps you avoid surprises and gives you a clear stagger plan.
Step-by-Step Instructions
Step 1: Lay the First Row
Place the first row of planks along the longest wall. Use spacers to create an expansion gap around the edges. This allows the floor to shift naturally with temperature changes.
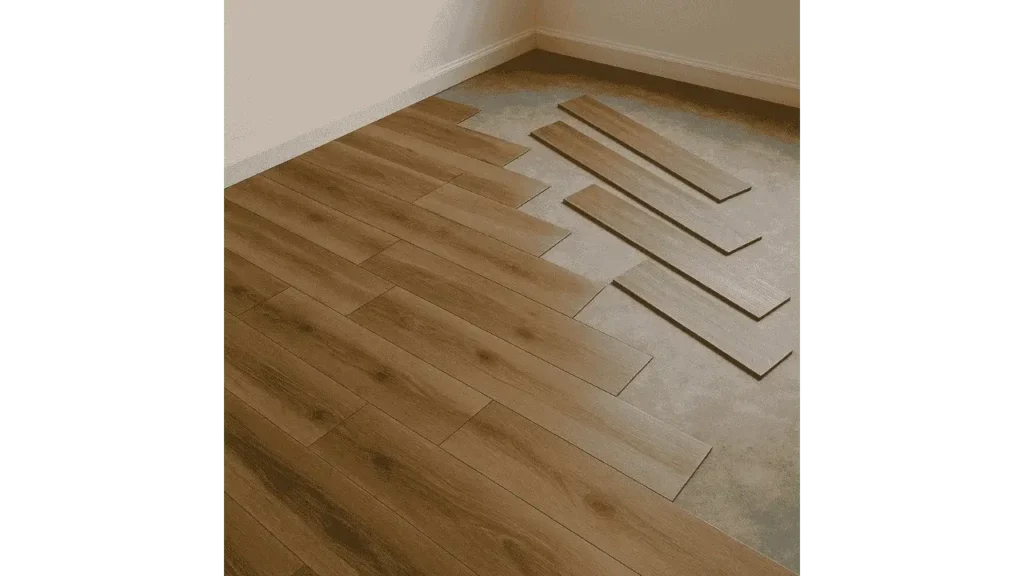
Step 2: Start the Stagger with Row Two
Cut the first plank of the second row to at least one-third of its length. This creates a natural offset and prevents the joints from lining up. You can also mix planks from different boxes for a more varied look.
Step 3: Keep the Pattern Going
For each row, offset the seams by at least 6 inches. Avoid creating a repeating pattern that looks too uniform. Use a tapping block and mallet to fit each plank snugly in place.
Step 4: Double-Check as You Go
Step back every few rows to check the pattern and make sure the seams are staggered evenly. It’s easier to fix a small mistake now than after the floor is complete.
“Always check alignment every couple of rows. A small slip early on can throw off the whole room,” advises Tina Garcia, a flooring expert at Home Pro Installations.
Final Takeaways
Staggering isn’t hard, but it’s essential. By planning ahead, using the right tools, and keeping a close eye on your layout, you’ll create a floor that looks natural and stays strong. Take your time, and don’t rush through it; you’ll be glad when you see the finished result.