
There’s nothing like the warmth of real wood underfoot, but installing it over concrete takes a bit more planning than your average floor project. I’ve seen plenty of homeowners take this on and end up with beautiful results, but it only works when the prep is done right. Concrete might be strong, but it brings its own set of challenges, especially when it comes to moisture and leveling. The good news is, once you know what to watch for, the rest of the process becomes much more manageable.
What Makes Concrete Installation Different?
Moisture, Surface Irregularities, and Adhesion
Concrete slabs hold moisture, even when they look dry. That hidden humidity is your biggest risk left unchecked, it can warp or ruin wood flooring. Uneven surfaces also throw off alignment. And not all adhesives work on concrete, especially if it hasn’t been properly sealed or cleaned. The bottom line: concrete needs extra attention before laying wood over it.
“Most wood floor failures on concrete happen because moisture wasn’t properly managed from the start,” says Dana Elridge, flooring consultant at ProLay Systems.
Step-by-Step: How to Do It Right
Step 1: Check Moisture Levels
Use a moisture meter to test the concrete. You’re looking for moisture levels that fall within the safe range specified by your wood floor manufacturer. If it’s too high, you may need to delay the project or add a more aggressive moisture barrier.
Step 2: Pick the Right Flooring Type
Engineered wood is your best friend here. It’s more stable and better suited for concrete than solid hardwood. If you’re set on using solid hardwood, you’ll need to take extra steps to protect it like a full moisture-blocking system beneath it.
Step 3: Prepare the Slab
Clean the entire surface thoroughly. Remove paint, adhesives, and debris. Fill any cracks or dips with a leveling compound. A smooth, clean slab makes for an even, solid floor.
Learn More: Fixing Burn on a Wood Floor
Step 4: Apply a Moisture Barrier
Depending on the product you’re using, this might be a roll-on liquid sealer or a full sheet membrane. Follow the manufacturer’s instructions carefully. This step is critical to long-term success.
Step 5: Install the Underlayment
If your flooring calls for it, roll out a foam or felt underlayment. It helps cushion the floor and dampen sound, and also adds a thin layer of moisture resistance. Some engineered planks come with underlayment pre-attached, check your product specs.
Step 6: Lay the Wood Flooring
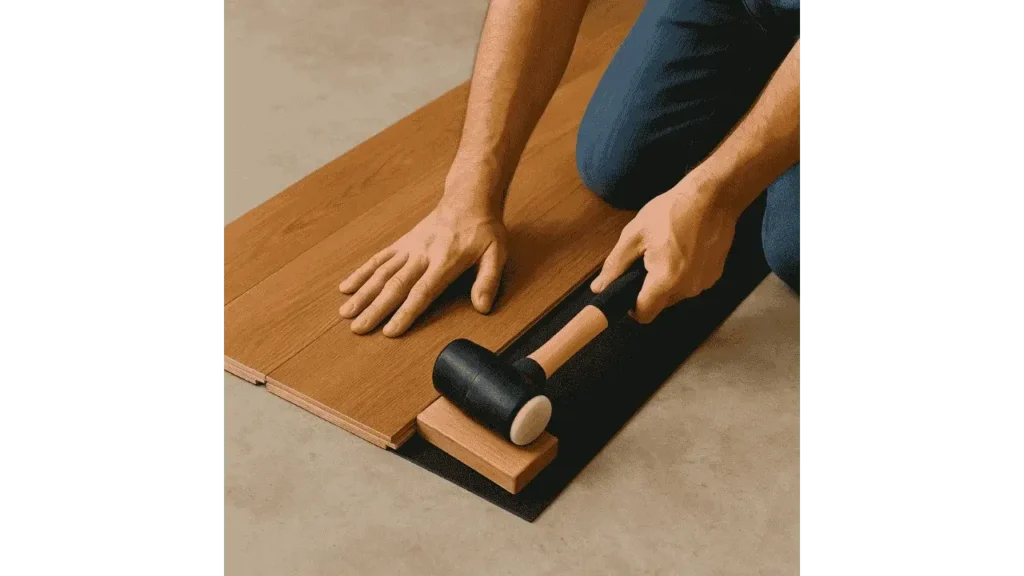
Start along the longest straight wall and leave a small expansion gap around all edges. Use spacers to maintain consistency. Depending on your flooring type, you’ll either use adhesive to glue planks down or snap them together in a floating floor configuration.
“Don’t skip the expansion gap—it gives your floor space to breathe and prevents buckling later,” advises Sam Chu, installation trainer at FloorCraft Academy.
Step 7: Secure and Settle
For glued-down floors, use a notched trowel to spread adhesive evenly, pressing planks into place as you go. For floating floors, simply lock each plank together and ensure tight seams. Once the room is complete, let everything sit undisturbed for the recommended curing or acclimation period.
Step 8: Finish With Baseboards
Remove your spacers, install baseboards to cover the expansion gap, and wait the manufacturer’s recommended time before placing furniture. This final step ensures a clean, professional look and lasting performance.
Read More: Can You Use Radiant Heat With Wood Floors?
Keeping It Looking Great
Maintenance for Wood on Concrete
Use rugs in high-traffic areas, clean spills quickly, and avoid soaking the floor during cleaning. A gentle damp mop is fine; just avoid standing water. Recoating the finish every few years can also help keep the surface protected.
Final Takeaways
Installing a wood floor over concrete isn’t difficult, but it demands attention to detail. From moisture management to correct flooring choice, each step matters. When done right, the results are stunning, and they last. With care and proper prep, your concrete slab can support a warm, inviting wood floor for many years.