Wood flooring adds timeless charm to any home, but moisture is its silent enemy. Whether it’s a minor spill or a soaked room after a leak, time is critical. I’ve seen homeowners wait just a day too long and end up with warped boards or mold creeping under the surface. The good news? If you act quickly and follow the right steps, you can often save your floors from lasting damage. Here’s how I handle moisture removal every time I get that dreaded call from a client with soaked floors.
How to Properly Remove Moisture from Wood Floors?
Step 1: Remove Wet Objects Immediately
Start by getting everything off the affected area. Rugs, furniture, and decor trap moisture beneath them and slow the drying process. I always remind clients that even a damp throw rug can become a sponge against their floor. Removing these items allows air to circulate freely and reduces the risk of water seeping deeper into the wood grain.
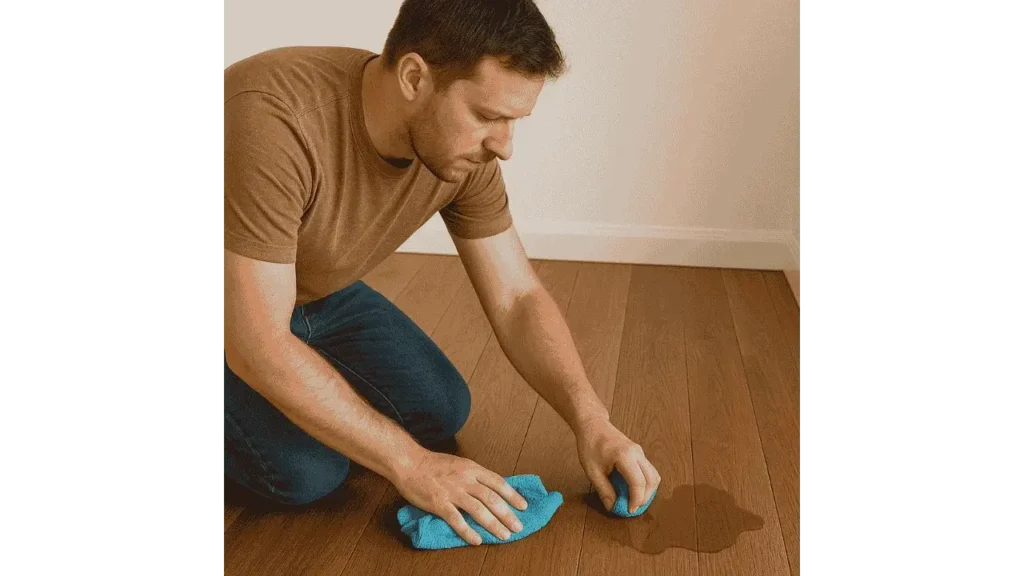
Step 2: Blot and Vacuum Like a Pro
Once the area is cleared, it’s time to get aggressive with the water. Use absorbent towels to blot up as much moisture as possible. Press firmly, especially in the seams between planks. A wet vacuum is especially effective here, it can pull water from deeper layers without the damage caused by heat or over-drying. Repeat this step until no more moisture comes up.
“The quicker you can remove standing water, the better chance you have of avoiding permanent cupping or buckling,” says Tom Vessler, restoration expert at HomeWood Solutions.
Step 3: Clean the Surface Safely
After excess water is removed, clean the surface to prevent residue and bacteria buildup. Use a gentle wood floor cleaner and a damp cloth, never a wet one. Wiping down the planks also gives you a better look at the condition of the floor underneath. Avoid any harsh chemicals that could further weaken the finish or seep into exposed seams.
Learn More: How Many Times Can You Sand Wood Floors?
Step 4: Create the Right Drying Conditions
This part takes time and patience. Set up multiple fans to circulate air across the floor’s surface. Position a dehumidifier in the room to draw moisture out of the air and wood. If weather allows, open windows to create natural airflow. One thing I always warn against: never use direct heat like hairdryers or heaters. It might seem like a shortcut, but it can cause the wood to dry unevenly, shrink, or crack.
“It’s not about drying fast, it’s about drying evenly,” explains Grace Harlow, indoor air quality consultant at DryAir Environmental.
Step 5: Check for Mold and Lingering Moisture
Once the floor feels dry to the touch, the job isn’t quite done. Moisture can linger in the subfloor or under baseboards. Look for any signs of mold, like musty odors or discoloration around the seams. If anything seems off, it’s worth calling a professional for an inspection. Catching mold early is far easier than trying to remediate an outbreak later.
Takeaways: Save the Floor, Spare the Headache
Moisture and wood floors don’t mix, but quick, careful action can prevent major damage. Clear the area fast, soak up all visible moisture, clean gently, and dry with proper airflow and tools. Monitor for mold even after things look normal. The sooner you act, the better your chances of keeping your floors looking and feeling like new. In my experience, prevention and fast response are your best allies.