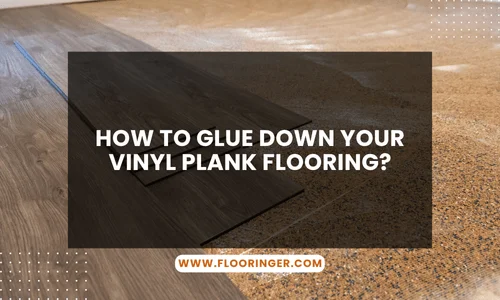
I’ve worked with countless homeowners and builders looking for the most secure way to install vinyl plank flooring; and gluing it down always stands out. It’s a method I recommend when long-term durability and minimal movement are top priorities. This approach is especially effective in high-traffic areas where you want peace of mind knowing your floor won’t budge. If done correctly, the results are solid, seamless, and built to last.
Acceptable Subfloors for Vinyl Plank Flooring
Before installation, the type and condition of your subfloor must be evaluated. A well-prepared base is key to strong adhesive bonding and a smooth final result.
Wood Subfloors
Wood subfloors like plywood or OSB need to be structurally sound, clean, and level. Any loose boards should be secured, and rough patches sanded down. Some installers recommend applying a primer to improve adhesive grip.
As flooring contractor Kevin Miller explains,
“Priming a wood subfloor can significantly boost adhesion and prevent issues with peeling or bubbling later on.”
Concrete Subfloors
Concrete is a common base for glue-down vinyl. However, it must be crack-free, level, and properly cured. Moisture testing is non-negotiable to prevent adhesive breakdown.
As stated by building specialist Laura Kent,
“Skipping moisture tests on concrete is asking for trouble; adhesive failure is almost always traced back to undiagnosed moisture.”
Existing Flooring
In some cases, vinyl planks can be laid over existing surfaces like tile or laminate. These layers must be stable, clean, and flat. A primer or specially formulated adhesive helps secure the new layer.
Floor Preparation
Thorough cleaning and surface preparation are essential. Sweep and vacuum to remove all dust and debris. Fill any cracks and sand uneven areas to create a level surface. A poorly prepped floor can lead to poor bonding or visible imperfections.
Test the Moisture
Moisture testing is vital, especially over concrete. Excess moisture can destroy the bond between the subfloor and the adhesive. Use a moisture meter or conduct a calcium chloride test. If levels are too high, a moisture barrier or sealant may be necessary.
Learn More: How Long Does Vinyl Plank Flooring Really Last?
Flooring Material Inspection
Always inspect the planks before installation. Look for defects like warping, cracks, or inconsistent coloring. Allow the planks to acclimate in the room for 24 to 48 hours to avoid issues like buckling after installation.
Installing Vinyl Planks
Follow Manufacturer-Specific Installation Instructions
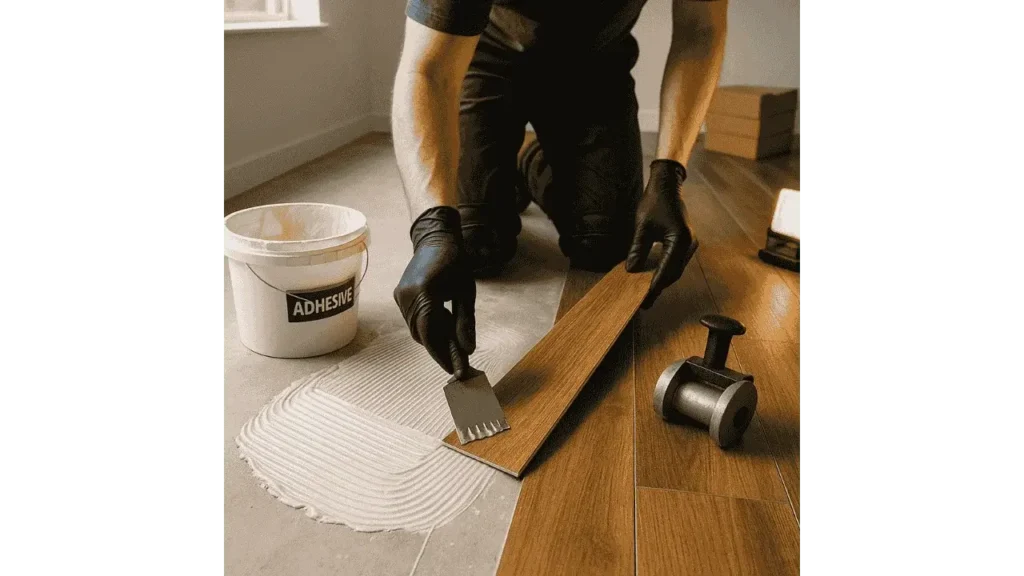
Each vinyl brand has its own guidelines for adhesive type, trowel size, and drying time. Apply the adhesive in small, manageable sections. Press each plank firmly into place, ensuring there are no gaps. After laying a section, roll over it with a 100-pound floor roller to remove air bubbles and secure the bond.
Is Glue-Down Vinyl Right for You?
This method is ideal for commercial spaces, basements, and moisture-prone areas where stability is critical. While it demands more prep and effort than floating floors, it offers greater resilience and a more permanent solution. For homeowners looking for a rock-solid foundation underfoot, glue-down vinyl remains a top choice.
Read More: How to Install Shaw Vinyl Plank Flooring?
Conclusion
Glue-down vinyl plank flooring, when done right, offers unbeatable durability and clean, professional results. From subfloor prep and moisture testing to careful adhesive use, every step matters. Take the time to do it properly, and you’ll have a floor that stays solid, looks great, and holds up well under daily life.