
Laying wood flooring in a patterned design can dramatically transform the look and feel of any space. Whether you’re aiming for a classic, contemporary, or rustic style, choosing the right pattern is key to creating a unique and visually appealing floor. This guide will walk you through different wood flooring patterns and provide step-by-step instructions on how to install them properly.
What Are the Most Popular Wood Flooring Patterns?
1: Straight Lay Pattern
The straight lay pattern is the most traditional and easiest design to install. Planks are laid side by side, parallel to the longest wall in the room. This pattern creates a clean and timeless look that works well in any space.
2: Diagonal Pattern
The diagonal pattern adds visual interest by laying the planks at a 45-degree angle to the walls. This style can make rooms appear larger and more dynamic, though it requires precise cutting and measurement.
Learn More: How to Get a Permanent Marker Off Wood Floor?
3: Herringbone Pattern
The herringbone pattern is a classic and elegant design where wood planks are laid in a zigzag pattern. This intricate design adds sophistication and works well in both modern and traditional interiors.
4: Chevron Pattern
Similar to herringbone, the chevron pattern involves cutting the planks at an angle and fitting them together to form a continuous V shape. This sleek and modern pattern requires careful planning but offers a bold statement.
5: Random Width Pattern
This design uses wood planks of varying widths to create a more rustic and natural look. Mixing wide and narrow boards adds texture and visual appeal to the floor.
6: Parquet Pattern
Parquet flooring features small wood pieces arranged in geometric patterns like squares or triangles. This design is ideal for adding a decorative and luxurious touch to formal spaces.
How to Choose the Right Wood Flooring Pattern?
Selecting the right pattern depends on your room size, design style, and personal preference. For small rooms, simpler patterns like straight or diagonal layouts can make the space feel larger. Larger rooms can handle intricate patterns like herringbone or chevron without feeling crowded.
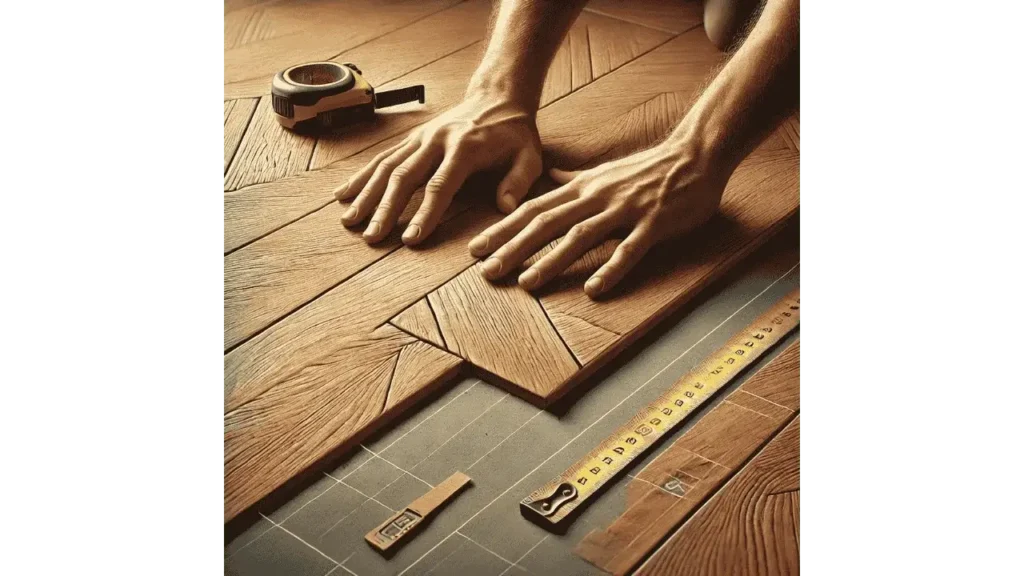
Tools and Materials Needed:
To install wood flooring patterns effectively, you’ll need a measuring tape, chalk line, flooring nailer or adhesive, a saw for cutting planks, spacers, and safety gear. Preparing the subfloor is also essential to ensure a smooth and even installation.
Step-by-Step Guide to Laying a Wood Flooring Pattern:
Step 1: Prepare the Subfloor
Clean and level the subfloor before beginning installation. Remove any debris and ensure the surface is dry and smooth.
Step 2: Plan the Layout
Measure the room and mark the center point to guide your pattern layout. Use a chalk line to create straight and accurate lines for laying the pattern.
Step 3: Start Laying the Pattern
Begin installing the planks according to your chosen pattern. Start from the center or one corner of the room, depending on the design. Use spacers to maintain expansion gaps.
Step 4: Cut and Fit Planks
Cut planks as needed to fit along the walls and corners. For patterns like herringbone or chevron, precise cuts are essential for a seamless look.
Step 5: Secure the Flooring
Use nails or adhesive to secure the planks in place. Check for alignment regularly to ensure the pattern remains consistent.
Step 6: Finishing Touches
Install baseboards and transition strips to complete the floor. Clean the surface to remove dust and debris.
Final Takeaways:
Laying wood flooring in a pattern is an excellent way to enhance the style and character of any room. By selecting the right pattern and following proper installation steps, you can create a stunning and durable floor that adds beauty and value to your home. With careful planning and attention to detail, your wood floor will become a standout feature in your space.