Applying polyurethane to wood floors is a great way to protect them from scratches, moisture, and daily wear while enhancing their natural beauty. Whether you’re refinishing old floors or sealing new ones, the right polyurethane application can make a significant difference in durability and appearance. This guide will walk you through the step-by-step process of applying polyurethane to wood floors for a long-lasting and professional finish.
What You’ll Need?
Before starting, gather all the necessary tools and materials for the job. You will need polyurethane, which can be either oil-based for a warm, amber tone or water-based for a clear, fast-drying finish. Sandpaper (120-220 grit) or a sanding machine is essential for smoothing the surface before application. A tack cloth or vacuum will help clean up dust after sanding. For applying the polyurethane, you can use a brush, lambswool applicator, or foam roller to ensure even coverage. Painter’s tape will protect the edges and surrounding areas, while stir sticks are used to mix the polyurethane thoroughly. Don’t forget protective gear such as gloves, a mask, and safety glasses to keep yourself safe during the process.
Step-by-Step Guide to Applying Polyurethane:
Step 1: Prepare the Floor
Begin by thoroughly cleaning the wood floor. Remove all furniture, rugs, and debris. Sweep, vacuum, and mop the surface to eliminate dust and dirt.
Step 2: Sand the Floor
Lightly sand the floor using 120-220 grit sandpaper or a sanding machine. This step smooths the surface and helps the polyurethane adhere properly. Vacuum and wipe the floor with a tack cloth to remove all dust.
Step 3: Apply Painter’s Tape
Use painter’s tape to protect baseboards, walls, and any areas you don’t want the polyurethane to touch.
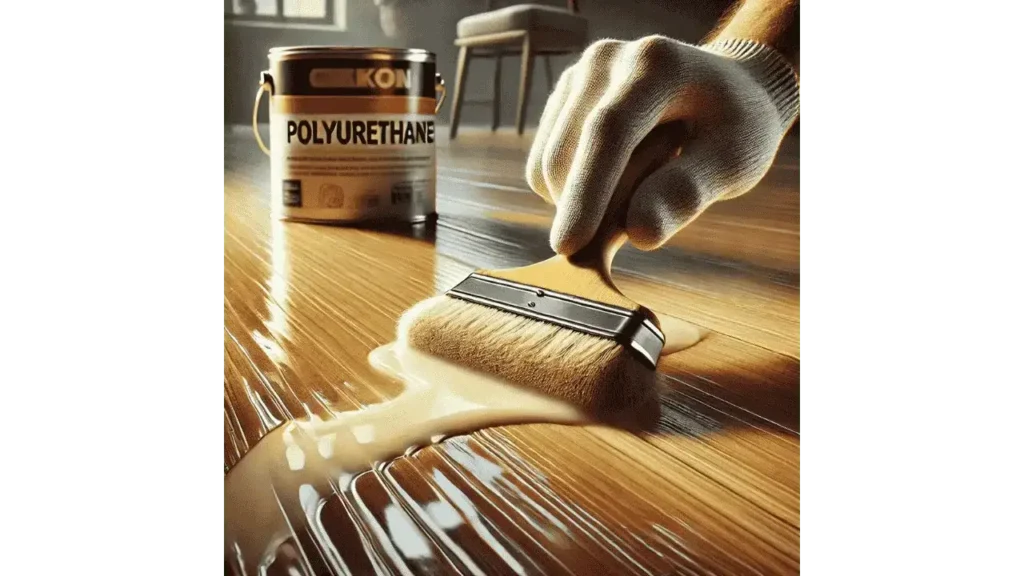
Step 4: Apply the First Coat
Stir the polyurethane gently to avoid bubbles. Using a brush, foam roller, or lambswool applicator, apply a thin and even coat along the wood grain. Start from the farthest corner of the room and work your way toward the exit.
Read More: Putting Vinyl Floor Over Wooden Floorbeds
Step 5: Let the First Coat Dry
Allow the first coat to dry completely. Drying times vary: oil-based polyurethane takes 24 hours, while water-based options can dry in 4-6 hours.
Step 6: Sand Between Coats
After the first coat dries, lightly sand the floor with fine-grit sandpaper (220 grit) to remove any bubbles or imperfections. Clean the dust with a vacuum or tack cloth.
Step 7: Apply Additional Coats
Apply at least two to three coats for optimal protection. Repeat the sanding and cleaning process between coats. Each coat enhances durability and provides a smoother finish.
Step 8: Let the Final Coat Cure
Once the last coat is applied, allow the floor to cure. Water-based polyurethane typically needs 7 days, while oil-based may require up to 30 days before heavy furniture is placed back.
Learn More: Can You Bleach Hardwood Floors?
Oil-Based vs. Water-Based Polyurethane:
Oil-based polyurethane offers a rich, amber tone that deepens over time and provides excellent durability. However, it requires a longer drying time and emits a stronger odor during application. On the other hand, water-based polyurethane dries much faster, has a clear finish that preserves the wood’s natural color, and produces less odor, making it a popular choice for indoor projects. However, it may need additional coats to achieve the same level of protection.
Maintenance Tips for Polyurethane Floors:
To maintain polyurethane-finished floors, avoid heavy foot traffic until the floor has fully cured to prevent dents and scratches. Clean the floors regularly using a damp mop and cleaners specifically designed for wood surfaces to avoid damaging the finish. Placing protective pads under furniture legs can help prevent scratches, and applying a fresh coat of polyurethane every few years will help maintain the floor’s shine and durability.
Conclusion:
Polyurethane is a durable and effective finish that protects wood floors while enhancing their natural beauty. By carefully preparing the floor, applying multiple coats, and allowing proper curing time, you can achieve a professional and long-lasting result. With the right maintenance, your wood floors will remain beautiful and resilient for years to come.